-
달링산 산업 광동

산업용 냉각기 압축기가 타버렸을 때 체크리스트는 무엇인가요?
Checklist When Your Industrial Chiller Compressor Burns Out?
목차
Industrial chiller compressor burnout can halt production and lead to costly downtime. Use this step-by-step checklist to diagnose issues, prevent future failures, and ensure your system runs smoothly.
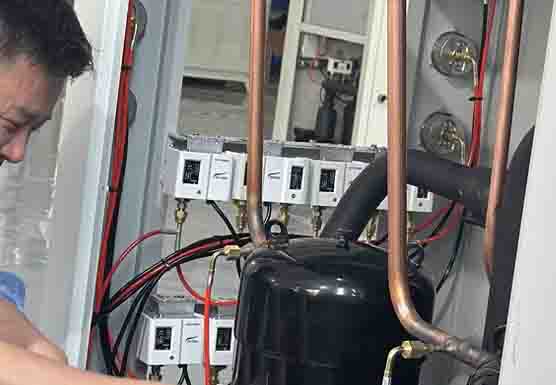
Critical Checks After Compressor Burnout
1. Electrical System Inspection
Bolded keyword: Start with a circuit inspection to rule out power-related causes:
- Turn off the power supply and inspect wires, plugs, and terminals for looseness or corrosion.
- Use a multimeter to check voltage stability. Fluctuations above ±10% require immediate correction.
- Replace blown fuses and investigate root causes (e.g., voltage spikes or short circuits).
Internal link: For voltage-sensitive systems, explore our 저온 냉각기 냉각 솔루션 designed for stable operation.
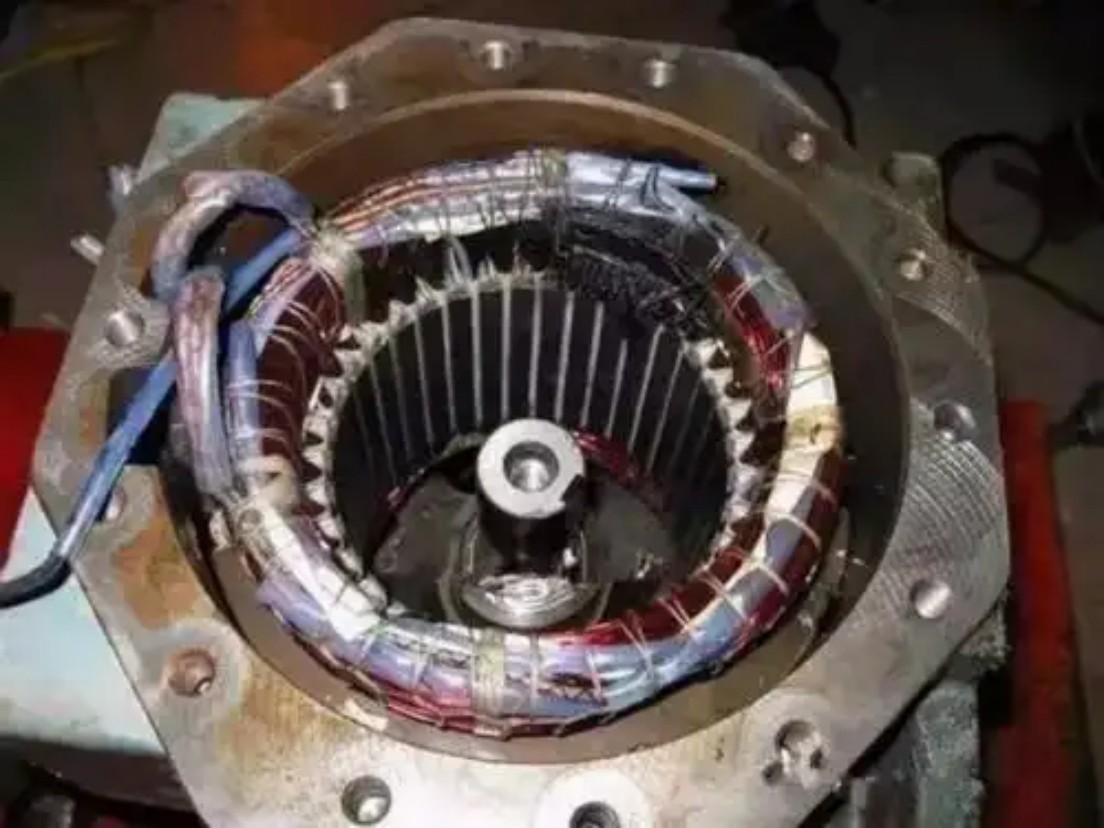
2. Overheating & Mechanical Damage
Bolded keyword: Look for overheating damage on the compressor:
- Check for discolored or burnt casing.
- Inspect internal temperatures using infrared thermometers. High temps (>200°F) indicate poor airflow or refrigerant issues.
- Clean dust-clogged condenser coils to restore heat exchange efficiency.
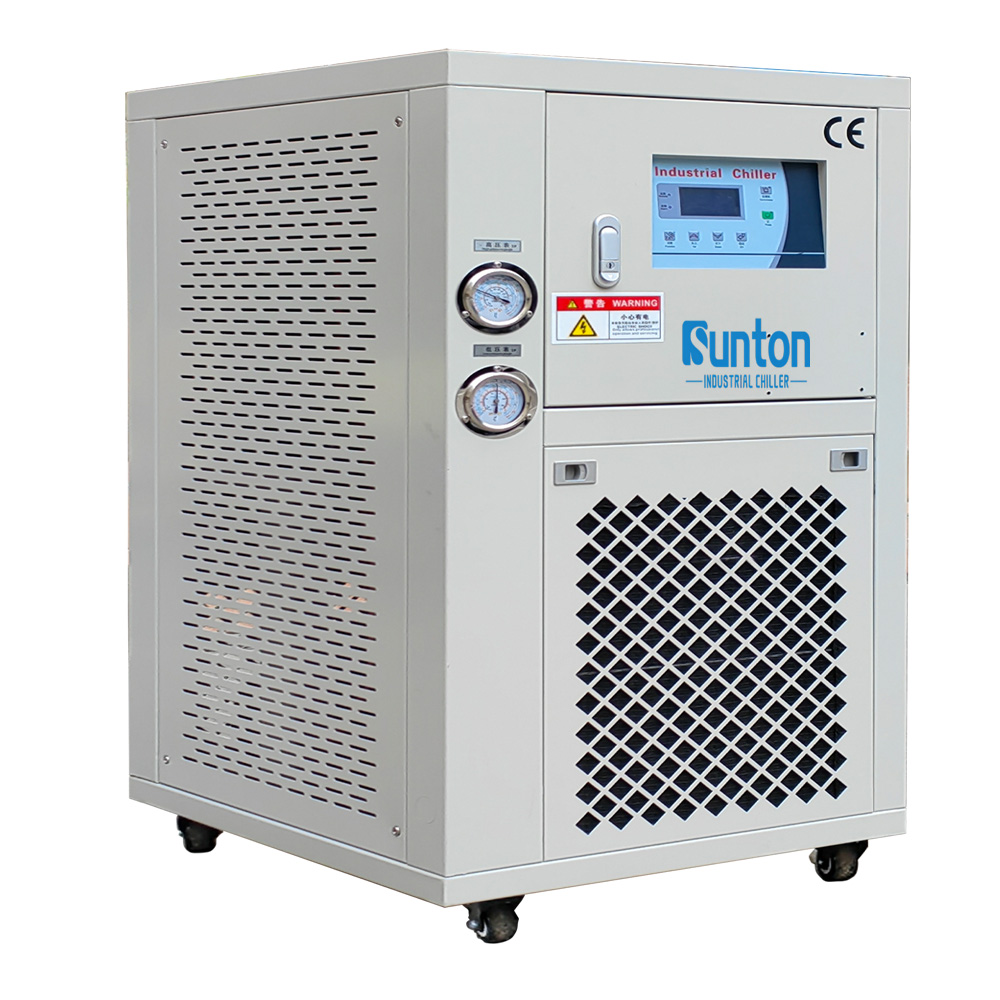
Internal link: Prevent overheating with our 수냉식 스크롤 냉각기, optimized for thermal management.
3. Refrigerant & Oil Contamination
Bolded keyword: Refrigerant contamination often follows compressor burnout:
- Test oil for acidity using litmus paper. Acidic oil (pH <5) requires a full system flush.
- Replace carbonized oil and install a charcoal core suction drier for 48 hours.
- Monitor pressure drops; aim for <2.5 PSI after cleanup.
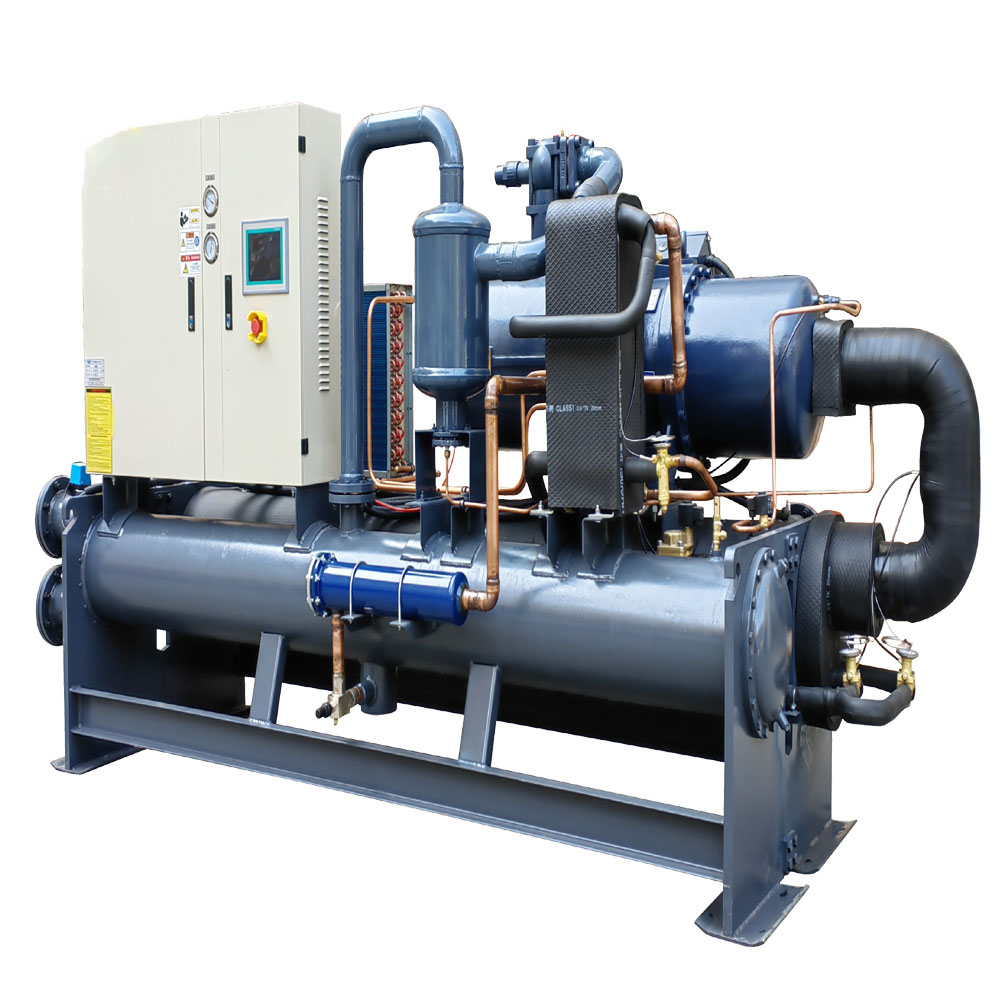
Internal link: Contaminated systems benefit from 수냉식 스크류 중앙 냉각기 with built-in filtration.
4. Flood Back & Short Cycling
Bolded keyword: Flood back damages compressors over time:
- Attach a temp sensor to the suction line to monitor refrigerant return.
- Track compressor cycles via the controller (e.g., E2 models). Short cycles (<5 minutes) signal improper load balancing.
- For racks, assess if a single compressor replacement suffices or a full rebuild is needed.
Internal link: Optimize cycle times with smart HVAC 냉각기 featuring adaptive controllers.
5. Post-Repair Acid Test
Bolded keyword: Perform an acid test before restarting:
- Check oil levels and pump functionality.
- Run the new compressor at 50% load for 2 hours.
- Replace oil filters and liquid line filters if acid traces remain.
- Inspect valve plates and pistons for wear or carbon buildup.
Internal link: For harsh environments, use 방폭 냉각기 resistant to chemical corrosion.
Preventive Measures to Avoid Future Burnouts
| Checklist Item | Action Required | 빈도 |
| Oil Quality Check | Test for acidity, moisture, and debris. | 월간 간행물 |
| Electrical Audit | Inspect wiring, fuses, and voltage stability | 계간지 |
| 콘덴서 세척 | Remove dust/debris from coils. | Bi-Annually |
| Flood Back Monitoring | Log suction line temps and cycle times. | 마디 없는 |
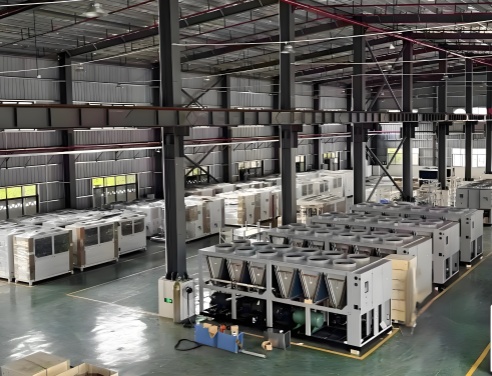
Internal link: Ensure long-term reliability with 전기 도금용 산업용 냉각기, built for extreme conditions.
When to Call a Professional
If burnout recurs or system contamination persists:
- Stop operations immediately to avoid cascading failures.
- Contact certified technicians for refrigerant recovery 그리고 system deep cleaning.
Pro tip: Pair your chiller with a 쉘 앤 튜브 열교환기 to enhance cooling efficiency and reduce compressor strain.
By following this checklist, you’ll minimize downtime, extend compressor life, and maintain peak chiller performance. For complex issues, always rely on expert support and high-quality replacements.